Using a Screen Element (Example)
The following example walks you through the process of defining a screen element that triggers the display of a callout. This example describes how a specific callout is displayed by Real-Time Client each time the number 9 key is clicked in the Windows standard calculator window (calc.exe).
To use the captured screen element:
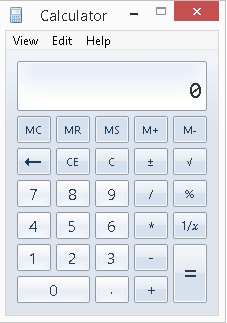
| 1. | Open the standard Windows Calculator by selecting Start > All Programs > Accessories > Calculator. |
| 2. | Open the Screen Element window and click the Identification tab. |
| 3. | Click Capture. |
The cursor changes and appears as follows: 
When you hover over a screen element, such as the number 9 key below, it appears in a bounded rectangle:
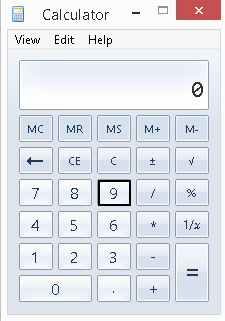
| 4. | Click a key on the calculator, for example, the  key. The screen element appears in the key. The screen element appears in the |
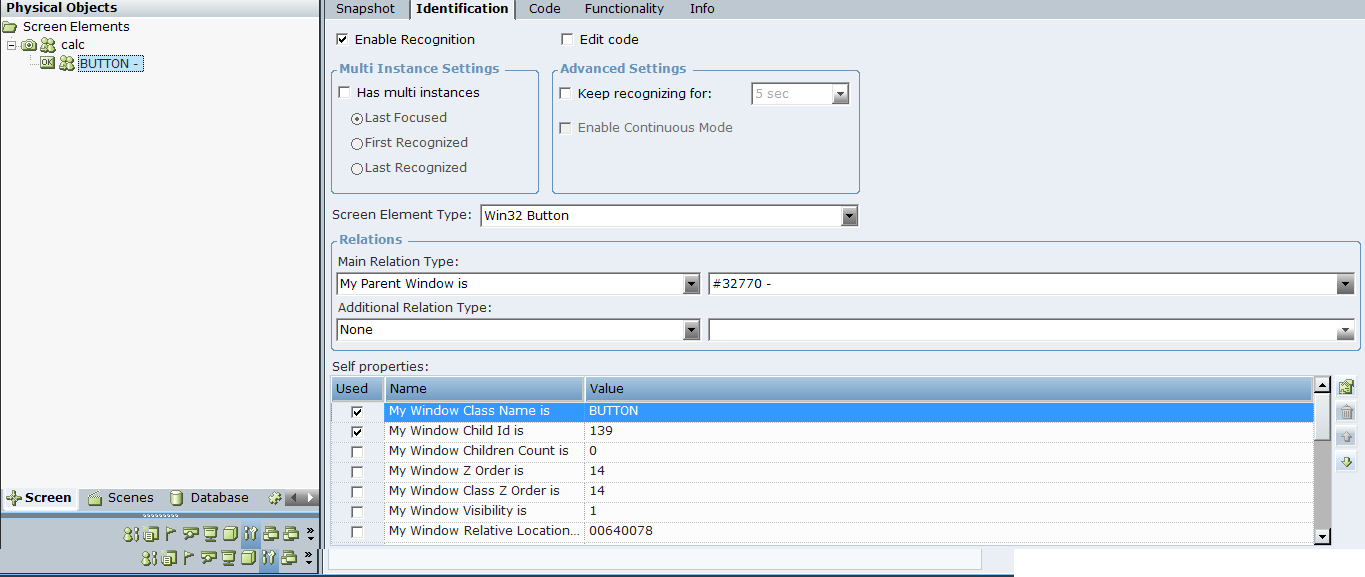
As you can see, Real-Time Designer automatically identified this screen element as a Win32 Button, as shown in the Screen Element Type field.
This screen element can now be used when defining rules, workflows, and event handlers.
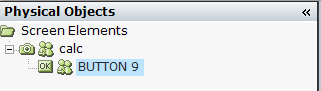
| 5. | (Optional) You can rename the screen element that you captured. Right-click the screen element in the tree and select Rename and define |
a new name for the screen element, for example, Button 9:
| 6. | In Real-Time Designer, click the Business Logic tab and then click the Event Handler tab in the center on the left of the window to display the Event Handlers definition window. |
| 7. | Right-click the Event Handler root of the tree, select Add and then select New Event Handler: |
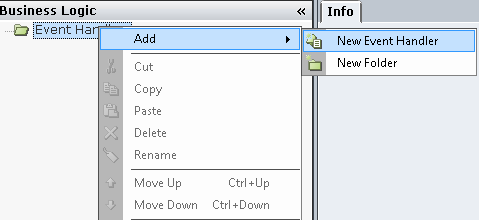
The following window is displayed:
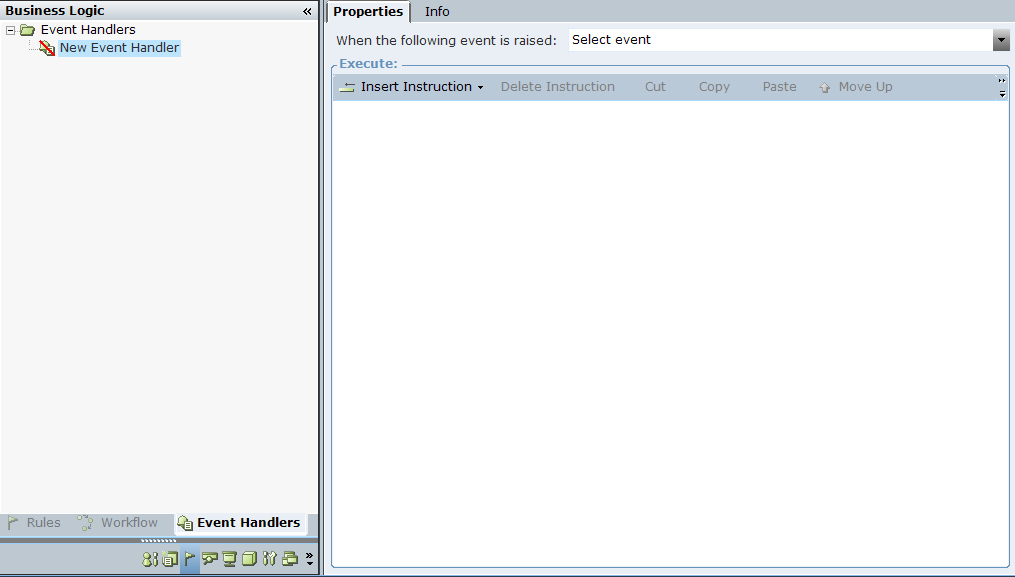
| 8. | From the When the following Event is raised drop-down list, select Screen Elements. A menu of captured screen elements is offered for selection. The first level shown is the application in which the screen element was captured. This level indicated by the small camera on its left side. |
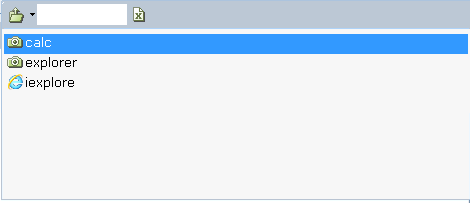
| 9. | Double-click calcto display the list of captured screen elements and their events (process events as well ): |

The BUTTON 9 in the list is our captured screen element . Each screen element is indicated by a small icon, which indicates the type of screen element.
The Created, Destroyed and The value of Exist of calc is modified options indicate the events that can be detected on the calc.exe process in the calculator. See Screen Element Interface Reference for a full list of the events supported for each screen element.
| 10. | Double-click Button 9 to display the list of events supported for this screen element at this level: |
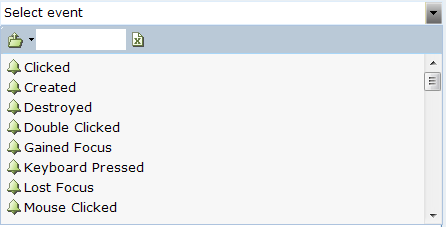
| 11. | Double-click Clicked to indicate that this event handler is triggered when the number 9 key is clicked. |

| 12. | Click Insert Instruction to define the action to be taken when the number 9 key is clicked. |
| 13. | Define the callout text to be displayed when Button 9 is clicked. Refer to Defining Callouts Using a New Blank Callout for details. |
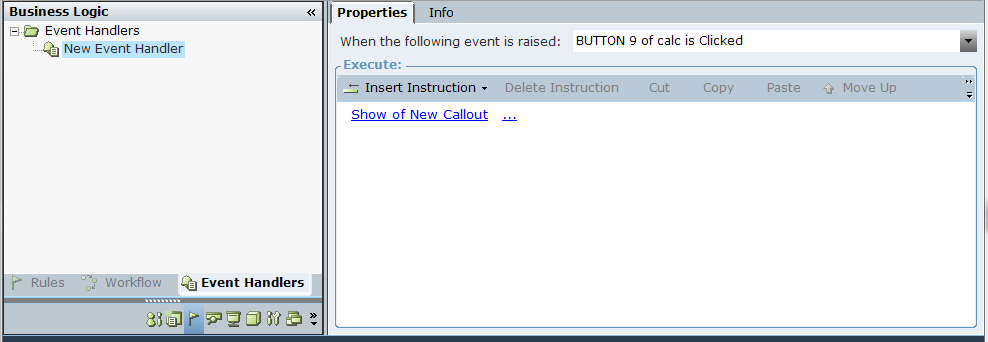
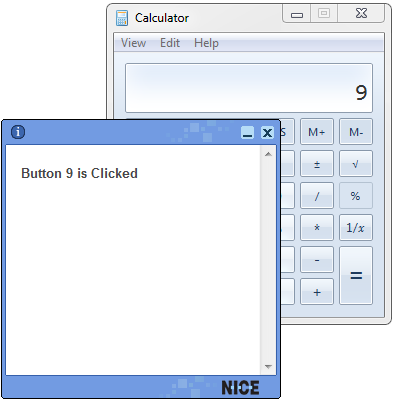
The instruction above specifies that the callout called New Callout will be shown when the BUTTON 9 key is clicked in the Windows Calculator.
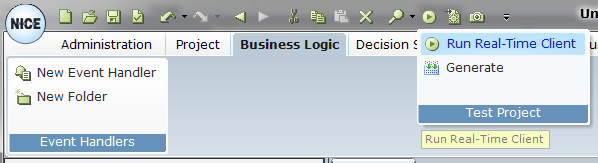
| 14. | Save the project and click Test Project on the Quick Access Toolbar . Then, select the Run Real-Time Client option to run the project on the client’s machine: |
| 15. | Go to the Windows Calculator and click Button 9. The configured callout is displayed. |